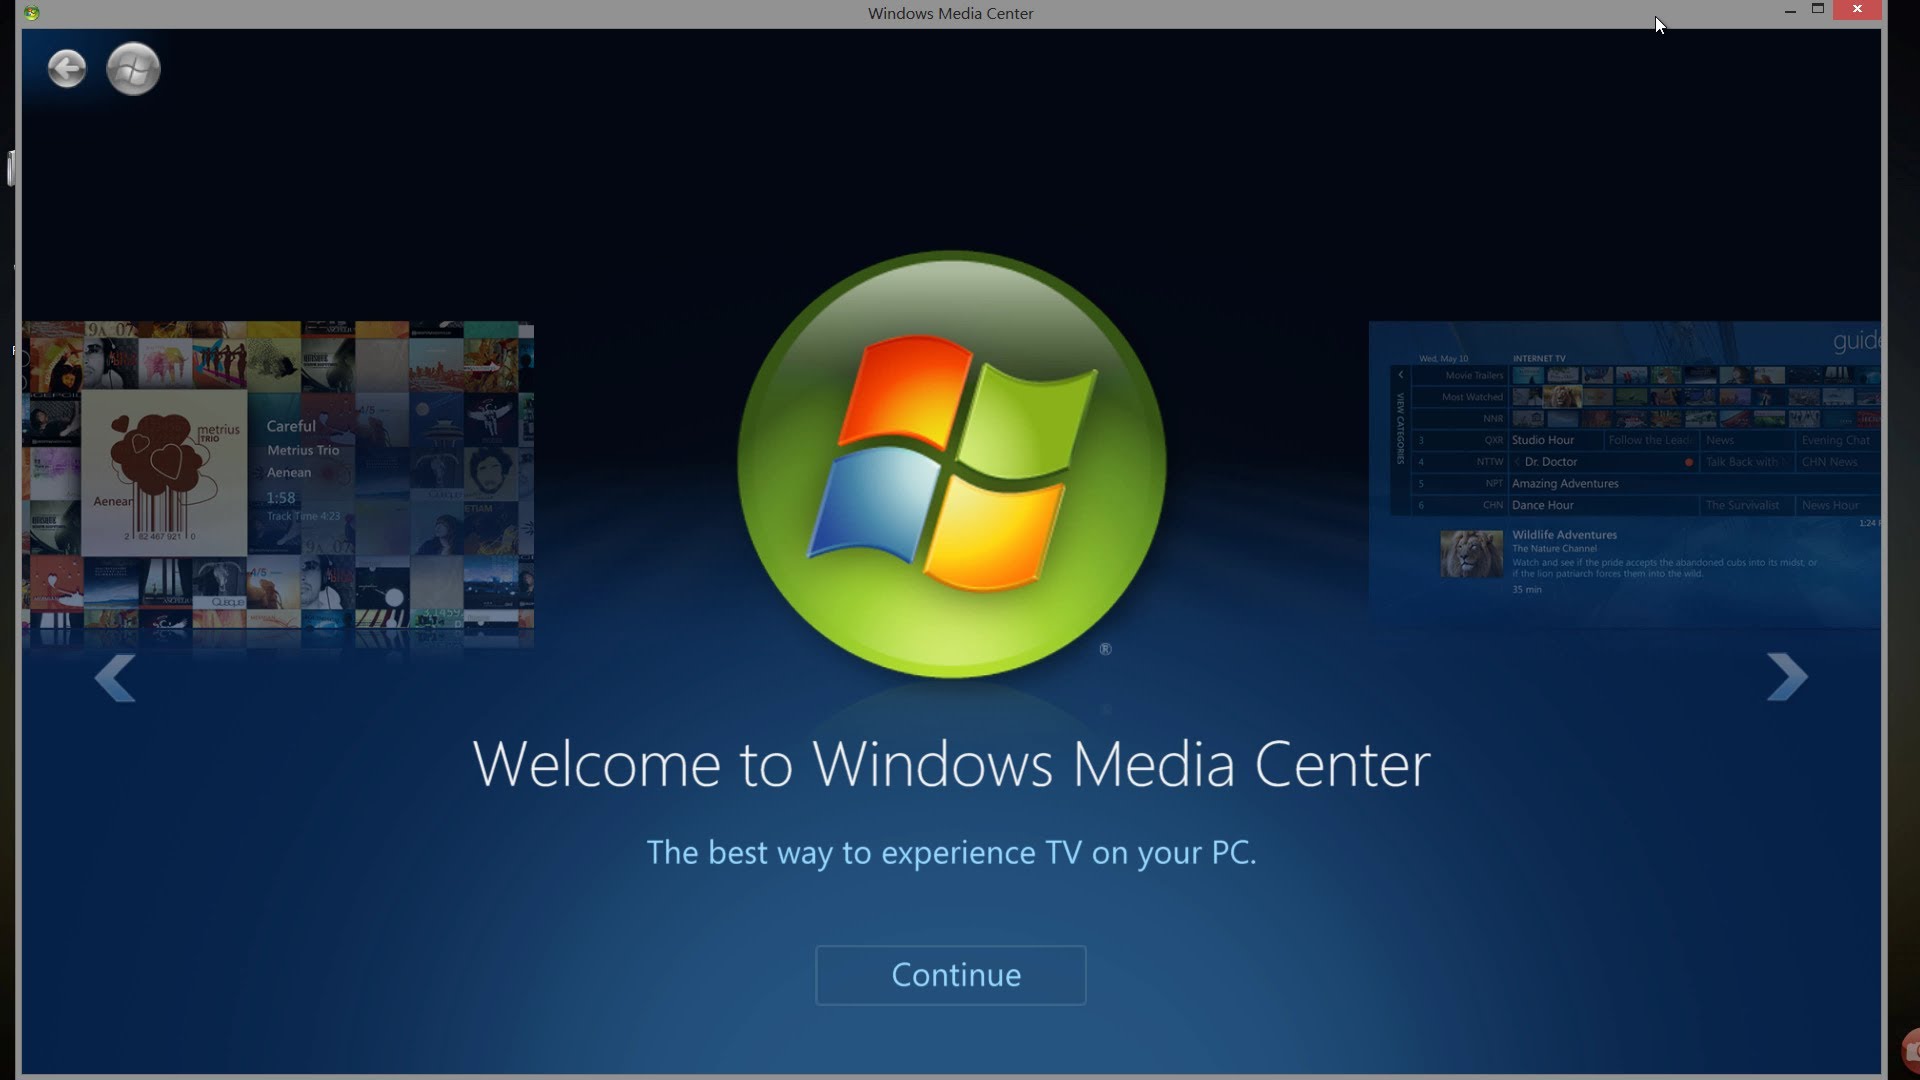
Windows Media Center removed in Windows 10. This is how to install and get to run WMC on Windows 10 system

wmc

Microsoft has officially killed off Windows Media Center. Here’s how you can get Windows Media Center running on Windows 10.

  1. Download the WindowsMediaCenter_10.0.10134.0v2.1.rar file from here.
  2. Then, with 7-Zip or other .rar program, extract the folder to your main system drive and open it.
  3. Right-click on the file _TestRights.cmd and select Run as administrator.
  4. Then right-click on the file Installer.cmd and select Run as administrator. Press any key to exit the installer when it’s finished.

Make a quick Windows search for Media Center and it will be your top match, but you can also find it under Window Accessories in the Start menu.
You should be able to run WMC normally from there.

You can also pin to desktop or start menu to make it easier for you.

Posted: Mark Pace

Problem with stripped or winmail.dat email attachments from Outlook to Apple or webmail via exchange or office 365 – Transport Neutral Encapsulation Format (TNEF) format

We were banging our head against the wall with the winmail.dat problem we have with an office 365 email account.
The solution is to hack the Office 365 server with regards to the Transport Neutral Encapsulation Format (TNEF) format.

INTRODUCTION.

This article describes how Microsoft Office 365 admins can change the message format so that messages that are sent from Office 365 users to external recipients don’t contain the Winmail.dat attachment.

By default, email messages that are sent from Exchange Online in Office 365 use the Transport Neutral Encapsulation Format (TNEF) format. Messaging systems that aren’t based on Microsoft Exchange may be unable to interpret messages that use this rich text format. If the recipient’s messaging system can’t process this format, a file attachment that’s called Winmail.dat is added to the message.

Office 365 admins can use Windows PowerShell to change the message format to prevent the Winmail.dat attachment from being sent to external recipients.

PROCEDURE

You will need to paste in the following commands:

$Session = New-PSSession -ConfigurationName Microsoft.Exchange -ConnectionUri https://outlook.office365.com/powershell/ -Credential $LiveCred -Authentication Basic –AllowRedirection

Import-PSSession $Session

Set-RemoteDomain Default -TNEFEnabled $false

The first line asks for your Office 365 (admin account, please!) username and password and connects you to the service.

Line 2 imports the commands you are going to need.

Line 3 prevents TNEF messages being sent outside of your domain.

Setting it to anywhere outside of your domain is a slightly broad brush-stroke, but it does reduce the overhead of having to keep going back and fix it for each domain you discover that cannot cope. But if you really wanted to only disable TNEF for specific domains, you can:

New-RemoteDomain -Name Awkward -DomainName awkward.com
Set-RemoteDomain Awkward -TNEFEnabled $false

In the first line you define your awkward domain, in the second you prevent TNEF messages going to it.

Is there a bigger hammer?

Yes, but while it’s a big hammer it’s also nice and sharply targeted…

Set-MailContact <ExternalEmailAddress or GUID> -UseMapiRichTextFormat Never

…will set mail sent to ExternalEmailAddress to always be sent plain text – no formatting at all.

Like stepping back in time.

Some might say a happier time, when people cared about the amount of bandwidth they used, didn’t send huge attachments and didn’t expect everyone to be using Outlook.

Some might say that, not me of course! I’m just thinking it…

(Updated 2014 to change -ConnectionUri from https://ps.outlook.com/powershell/ to https://outlook.office365.com/powershell/)

——————————————————————————————————————————————-

Source with thanks : https://www.deargeek.co.uk/2013/11/how-to-stop-office-365-sending-those-pesky-winmail-dat-attachments

Other sources :https://support.microsoft.com/en-au/kb/2487954

Fortinet: Fortigate Service and Support Policy – Life Cycle Update from 1st October 2015

This document is provided by Fortinet Corporation and shown here for customer and staff information only.

Summary
This document is intended to outline the policy that Fortinet has established for the activation date of warranty
and support. Renewals of support contracts will start from the end of the previous support contract.

In Summary
• Product warranty and support starts at the EARLIER of the following events:
−− At time of registration
−− At first point when unit will connect with Fortinet and request updates
−− If these two events do not occur within 100 days of the shipment of product from Fortinet, the
hardware, service and support will be auto-activated 100 days from Fortinet shipment to Distributor
• At initial power-up it is HIGHLY recommended that the customer follow the registration process to ensure
timely updates and support.

Warranty
Warranty/Support start is tied directly to the ship date or activation connection with Fortinet. Warranty is
the base level of coverage on the hardware platform. Fortinet’s warranty is included in its End User License
Agreement.

Support
The start of support is tied to the timing of hardware shipment or activation, but a maximum of 100 days grace
period is provided in EMEA/APAC. Support is considered “insurance” in many ways, meaning it is there in case
something goes wrong, hence it is important that the support agreement starts around the time product is
received and doesn’t wait to start until an issue comes up.

Bundles
The start date for bundles will follow the warranty/support policy above.

Effective Date
This new policy applies to products purchased and shipped from Fortinet on or after October 1st, 2015.


Life Cycle Policy Update

Fortinet is committed to providing regular patches and support services for a period of 36 months from the date of general availability. An additional 18 months beyond this period has been added, bringing the total duration of support for a software or firmware release to 54 months.

This is a way for Fortinet to ensure that we are providing your customers with the most up-to-date Fortinet security protection.

Cannot access All Users folder in Windows – Access is Denied No Permission – Terminal Server Start Menu and Desktop

Want to add an icon on a Terminal Server Start Menu or Desktop for ALL USERS but can’t due to permissions?

The \All Users folder is a Symlink to “C:\ProgramData\Microsoft\Windows\Start Menu”The Default User is a Symlink to C:\Users\Default. A Symlink is not accessible by a user. They are there to provide backward-compatibility for programs.

Have a look at the directory listing from the command prompt using the /a switch which shows all attributes.

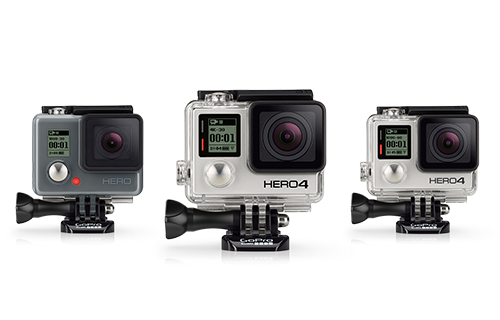
How to fix Gopro Hero audio sound issues clicking and chopper sound when wifi enabled. Gopro hero 4 silver black problems and issue

IMG_0080-0.PNG

Do you have a Gopro hero 4 silver or black ripped out if the box and found it has a clicking or chopper sound noise when playing back?
You will find this only happens when wifi is enabled.
I wrote an email to Gopro and responded within 24 hrs suggesting there is a problem as below.


Hi Mark,

Thank you for contacting GoPro and reaching out with your concern. I’m sorry for the trouble you’ve experienced with HERO4 Silver. I can imagine the slight discomforts having these issues arise. I would be more than happy to review this with you.

While I’d love to help troubleshoot your concerns, the helicopter-like noise your camera is emitting is a hardware impairment we’d have to replace. Your camera is currently under warranty and I’d be happy to being the process started to replace your camera. As an added alternative, if you are still within the time frame to exchange your camera from where it was purchased, it may be easier to exchange for a new one. I have zero problem continuing to help you through our warranty, just keep in mind it takes just a tad longer due to mailing processes. Nonetheless, if you’d like to continue replacement via warranty, please reply to this e-mail with the following:

– A photo/scan/screenshot of your original purchase receipt to show that you are within the 1-year warranty period.
– Also reply with your preferred return shipping address, formatted like this:

Name
Phone Number
Address Line 1
Address Line 2
City/Town, State/Province, ZIP/Postal Code
Country

Once we hear back, we’ll be able to provide you with a RMA number (returns authorization) and return instructions.

Our apologies for the inconvenience, but we’ll do our best to resolve the issue as quickly as possible.

Many Thanks,
Lorraine
GoPro Support
gopro.com/support

I decided to take it back to Craig at JBHIFI Castle Hill with some sample videos and email from Gopro. Without hesitation he swapped it out for me. (Thanks Craig, awesome service)

Got home unpacked and tested the replacement and was all good.

I wasn’t going to worry thinking it was firmware but not. It’s hardware so if you have the issue get it fixed under warranty.

Send me a reply/comment if you have any questions.